Getting Started
The 5 Things You Actually Need for Your First Watercolor Painting
Confused about watercolor supplies for beginners? This guide cuts the list to 5 essentials so you can start painting today without the overwhelm.
If you search "watercolor supplies for beginners" you'll find listicles with 40 items and affiliate links to everything. Ignore them. You genuinely need five things to make your first real watercolor painting, and most of them cost less than a takeout meal. Here's exactly what they are and why everything else can wait.
The short version: five things, that's it
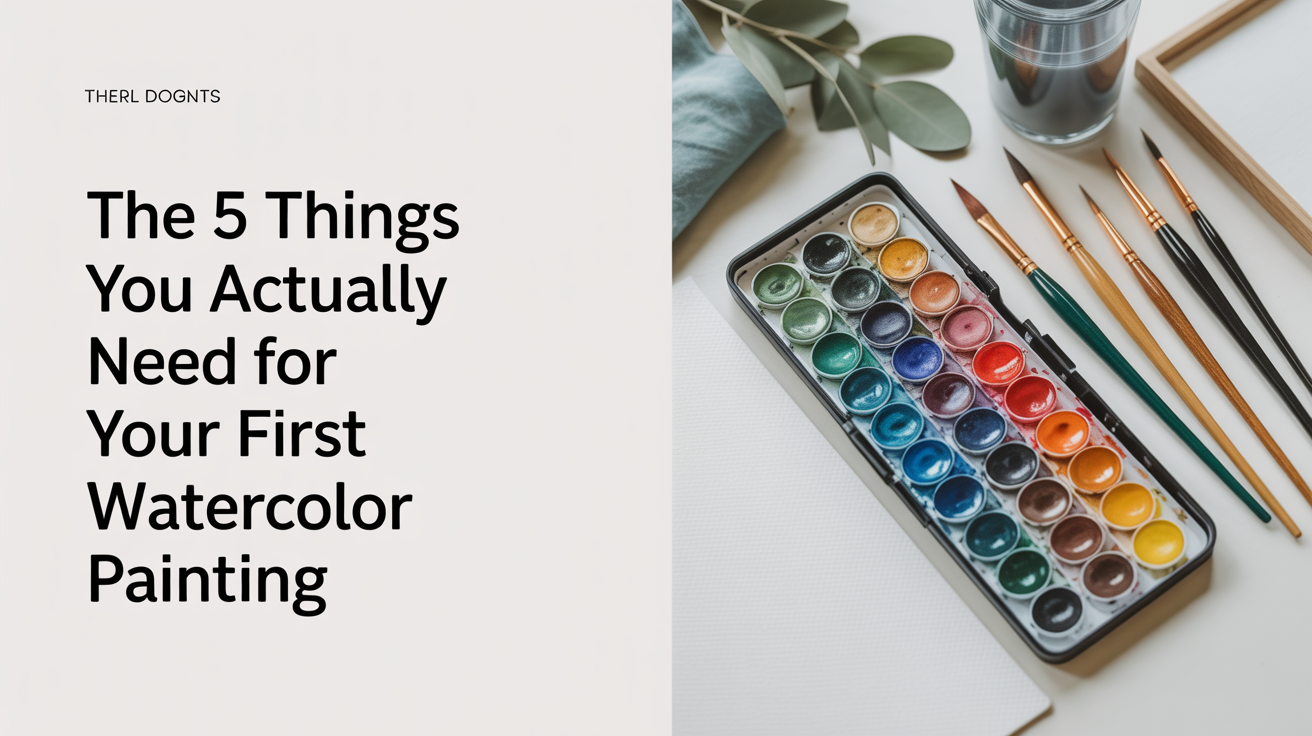
Before we get into specifics, here is the whole list at a glance:
- Watercolor paints (a small student-grade set is fine)
- Watercolor paper (140 lb / 300 gsm, cold-press)
- Two round brushes (a size 8 and a size 4)
- Two jars of water
- A palette or a ceramic plate
That's it. No special easel, no fancy brush holder, no color theory workbooks. Those things can come later, once you know you enjoy the process.
1. Paint: start small and don't feel guilty about student grade
You do not need professional paints to learn watercolor. A 12-pan or 24-pan student set from a brand like Cotman, Van Gogh, or Koi gives you workable pigment at a price where you won't be afraid to actually use it. Beginners who buy expensive paint often paint too cautiously because they're worried about "wasting" it. That hesitation is the enemy of learning.
What matters in a beginner set is that it includes these four pigment families:
- A warm and a cool blue (ultramarine for the warm granulating one; phthalo blue for the cool intense one)
- An earth tone (raw sienna or yellow ochre)
- A red or rose (quinacridone rose if possible; it mixes cleanly)
- A green (sap green saves you a lot of early mixing trouble)
If your set has those covered, you're set. Payne's grey is also worth having; it makes beautiful neutrals and soft darks without going muddy.
One real difference between student and professional paint: pigment load. Professional paints contain more pigment per tube, so they stay vivid even when diluted a lot. Student paints sometimes look chalky when over-diluted. The fix is to use a touch more paint relative to water. You'll figure out your set's sweet spot after a few practice sessions.
Tubes or pans?
Pans are convenient and portable. Tubes let you squeeze out a fresh puddle of rich color quickly, which is helpful when you're painting large wet-into-wet areas. Either format works. If you're buying a first kit, a pan set is slightly easier to manage because everything is already organized for you.
2. Paper: this one actually matters more than paint
Cheap paper is the number-one reason beginner watercolors look bad. Copy paper, sketchbook paper, and anything labeled "drawing paper" will buckle into a sad wavy mess the moment water hits it. The paint sits on the surface instead of absorbing, and your colors streak rather than blend.
The fix is 140 lb (300 gsm) cold-press watercolor paper. Here's what that means:
| Term | What it means |
|---|---|
| 140 lb / 300 gsm | Heavy enough not to warp badly on small sheets |
| Cold-press | Lightly textured surface; holds water well; forgiving |
| Hot-press | Smooth; great for detail but less forgiving for beginners |
| Rough | Very textured; beautiful granulation effects; harder to control |
Cold-press is the standard recommendation for good reason. It lets water move around on the surface long enough to blend, but it also absorbs pigment and holds edges when you want them.
For practice, a pad of 9x12 cold-press sheets (Canson XL, Strathmore 400 series, or similar) runs about $15 to $20. You'll go through paper fast when you're learning, so a big pad is worth it. For finished paintings, Arches or Fabriano Artistico are the reference-quality options, but they're not where you start.
A note on size: paint on sheets at least 5x7 inches. Smaller than that and you don't have room to make real marks. Bigger than 9x12 and you'll need to tape the paper down or use a block (a pad where the sheets are glued on all four edges) so it doesn't buckle. For your first few paintings, a single loose sheet taped to a piece of cardboard works fine.
3. Brushes: two is enough
The brush section of any art supply store is bewildering. Rounds, flats, fans, mops, riggers. Kolinsky sable, synthetic, squirrel. You need exactly two brushes to start.
Get a size 8 round and a size 4 round. That's it.
The size 8 is your main workhorse. It holds enough water to paint washes across a 9x12 sheet without running dry halfway through a stroke. It also comes to a decent point for moderate detail. The size 4 is for smaller marks and finer lines.
Synthetic brushes in the $4 to $12 range are perfectly adequate for a beginner first kit. The main quality you're looking for is snap: when you press the brush and release, it should spring back to a point. If it flops over and stays there, the brush won't give you control. Give it a quick test in the store by pressing the wet brush against the back of your hand.
One thing to avoid: fan brushes, stiff hog-bristle brushes, and anything labeled "watercolor set" that comes bundled with a tiny plastic palette and 12 acrylic colors. Those kits give you tools that fight you.
If you want a third brush, a 1-inch flat is genuinely useful for painting large sky washes or wetting a whole sheet before painting wet-into-wet. But it's optional at the start.
You can read more about controlling water on the brush in how much water to use in watercolor: the beginner's biggest question, which covers the "milk, tea, coffee" consistency framework in detail.
4. Two jars of water (yes, two)
This sounds obvious, but it makes a real difference. One jar is for rinsing your brush between colors. The other holds clean water for mixing and for wetting your paper.
If you use the same jar for everything, your "clean" water quickly turns into a gray-brown murk that contaminates every color you mix. You'll notice especially with yellows and light washes: a slightly dirty brush will turn a pale lemon wash muddy in seconds.
Any container works. Old jelly jars, glass measuring cups, wide yogurt containers. Wide-mouth containers are better than tall narrow ones because you can rinse the brush more easily without smashing the bristles against the bottom.
Change your rinse water when it gets dark. This is one of those small habits that separates paintings that glow from paintings that go gray.
5. A palette (or a plate from your kitchen)
You need a flat white surface to mix paint and hold puddles of diluted color. A basic plastic watercolor palette with wells around the edge and a flat mixing area in the middle costs about $5 and works perfectly. White is non-negotiable because you need to see the true color of your mix, not a tinted version of it.
If you want to skip buying anything extra right now, a white ceramic dinner plate or a stack of white paper plates works almost as well. The ceramic one is better because it doesn't absorb water, so your mixes stay wet longer.
Avoid palettes with a colored or dark mixing area. A deep blue mixing surface makes every color look darker than it actually is, which throws off your whole sense of value.
One palette habit worth building early: mix more paint than you think you'll need. Running out of a specific mixed color halfway through a wash and having to remix it from scratch is one of the most frustrating beginner experiences. Mix a big puddle, then use it.
For tips on how your finished washes will look compared to your wet paint, see why your watercolors dry lighter and how to plan for it. Knowing that watercolor dries roughly 20 to 30 percent lighter will save you a lot of confusion on your first paintings.
What you don't need yet
This list is just as useful:
- A watercolor easel (the table is fine; a slight tilt helps, but a book under one end of your board works)
- A masking fluid (useful eventually; messy and stressful for a first painting)
- Watercolor mediums like ox gall or gum arabic
- A light box or transfer paper
- More than 12 colors (color mixing comes after you know your current paints)
- Expensive brushes (skill matters more than tool quality at this stage)
The goal right now is to make something and enjoy the process. If you're ready to sit down and paint your first piece today, watercolor for absolute beginners: how to start in one afternoon walks through a simple first project step by step.
Frequently asked questions
Can I use regular printer paper to practice?
You can, but the experience will be discouraging. Printer paper buckles immediately, the paint sits on the surface in beads, and colors streak rather than blend. It won't teach you what watercolor actually feels like. Even cheap 90 gsm watercolor paper from a craft store is dramatically better for building real technique. Save the printer paper for sketching thumbnails.
Do I need to buy a specific brand?
Not at all. The brands named in this guide are just examples of reliable options. Student-grade paints from Cotman, Koi, or Van Gogh are all workable. For paper, Canson XL and Strathmore 400 series are widely available in craft stores and online. The most important thing is that your paper says "watercolor" and is at least 140 lb / 300 gsm. Everything else is secondary.
How much will a basic first kit cost?
A realistic breakdown for a solid first kit:
- Paint set (12 to 24 pans, student grade): $15 to $30
- Paper pad (9x12, cold-press, 30 sheets): $12 to $20
- Two synthetic round brushes (size 4 and size 8): $8 to $16
- Palette (plastic with wells): $5 to $10
Total: $40 to $76. You can spend less by checking the discount art supply bin at a craft store or buying a bundled starter kit, but the categories above are what the kit should cover.
My colors look dull when they dry. What am I doing wrong?
Usually one of two things. First, your paint mix may have been too diluted, which is very common when you're getting used to a new set. Try mixing a slightly stronger puddle (more paint, same water) and see if the dried result has more depth. Second, if you worked a wash repeatedly while it was drying, you've lifted the pigment granules and created a flat, chalky surface. Watercolor rewards patience: mix the right value, apply it, and leave it alone to dry. Touching wet paint is the most common beginner mistake.
Do I need to stretch my paper?
For sheets smaller than about 9x12, taping the edges to a board with masking tape or painter's tape is usually enough. For larger sheets or if you're painting very wet, stretching (soaking the sheet and stapling it to a board while wet, so it dries flat) prevents major buckling. Most beginners skip stretching at first and just tape down their paper or use a watercolor block, and that's fine. The block format is the easiest solution: the sheets are glued on all four edges, so they can't buckle while wet, and you peel each one off when it's fully dry.