Subjects & Projects
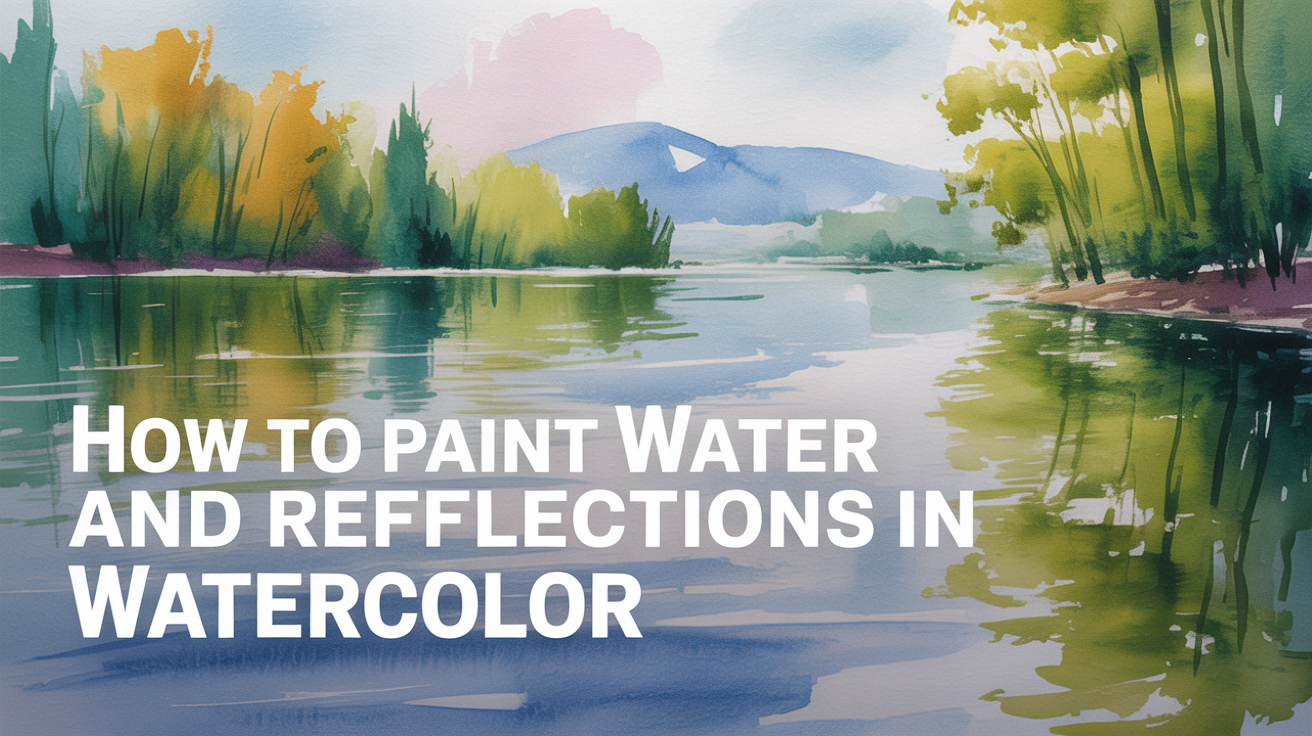
How to Paint Water and Reflections in Watercolor
Learn how to paint water and reflections in watercolor with practical techniques for lakes, rivers, and still water, no experience needed.
Water is one of those subjects that looks difficult but rewards a light hand. Watercolor is already a fluid medium, and that quality works in your favor here. The key is resisting the urge to overwork, water painted with confidence and restraint nearly always looks better than water that has been fussed over.
This guide walks through the core ideas behind painting water and reflections, then puts them into practice with a simple lake scene.
How Reflections Actually Work
Before touching the brush, it helps to understand what you are looking at when you see a reflection.
A reflection is always directly below the object being reflected. If a tree stands at the left edge of a lake, its reflection appears directly beneath it in the water, not at an angle. The vertical position mirrors the object; the horizontal position stays the same.
Reflections in still water are close to perfect mirrors. As the water surface becomes disturbed, the reflection stretches vertically and breaks into rippled shapes. For a calm lake, paint the reflection colors to roughly match the object above, just slightly darker, because water absorbs a small amount of light.
One thing beginners often miss: the reflection is always the same height or taller than the object itself, never shorter. A tall tree will have a tall reflection. This is because you are viewing the underside of the reflected image.
Setting Up Your Palette for Water
Water picks up the colors around it. A lake at midday reflects mostly sky. A lake at dusk reflects orange and rose. A shaded river in the woods reflects the greens and browns of the canopy.
For a basic lake scene, you will work from a limited set:
| Area | Colors to mix |
|---|---|
| Sky wash | Cerulean blue or cobalt, diluted generously |
| Water (reflecting sky) | Same blue, slightly cooler and a touch darker |
| Tree reflections | Mix your greens down with a bit of burnt sienna to knock back the brightness |
| Shoreline | Raw sienna, burnt umber, neutral grey |
Keeping the water colors in the same family as the sky above creates natural harmony. Avoid the temptation to add too many separate colors to the water, unity is what makes it read convincingly.
The Wet-in-Wet Approach for Still Water
Still water and wet-in-wet technique are a natural match. The soft edges and blooms that happen when you drop pigment into a wet surface look a lot like the blurred reflections in calm water.
Step 1. Wet the paper in the water area with clean water and a large flat brush. Make sure the sheen is even.
Step 2. While the paper is still wet, load your brush with your sky color (cerulean or cobalt) and sweep horizontal strokes across the water area. Work quickly. These strokes should be slightly darker than your sky, since the water surface darkens what it reflects.
Step 3. Drop in the reflection of any large trees or landmasses while the wash is still wet. Use a slightly thicker mix and pull the color down in vertical strokes. Let the paint spread on its own; do not stir it around.
Step 4. Let the whole area dry completely before touching it again. Patience here is the difference between soft, glassy reflections and muddy streaks.
For the sky area, you can follow a similar process, head over to how to paint a simple watercolor sky and clouds for a full walkthrough that pairs well with this technique.
Painting Ripples and Moving Water
Ripples require a different approach. Here, you want hard edges and broken horizontal marks, not soft blending.
Let the water area dry first, then come back in with a smaller brush and a slightly darker version of your water color. Paint short, slightly curved horizontal strokes across the surface. These do not need to be evenly spaced or perfectly parallel. Irregular spacing looks more natural.
To suggest the reflection of a tree in rippled water, paint short vertical dabs that break up the column of color. Think of the reflection as dissolving into the water rather than sitting on top of it.
A few things to keep in mind:
- Ripples near the foreground appear larger and farther apart.
- Ripples near the horizon appear smaller and closer together.
- Leave some areas of the water untouched. Every inch of water does not need a ripple.
For light sparkling on water, you can preserve small white shapes before laying the wash, or lift them while the wash is still damp with a dry brush or a clean corner of a paper towel.
A Simple Lake Reflection Exercise
Try this exercise before tackling a full scene. You need a piece of cold-press paper, two or three colors, and a large brush.
- Draw a faint pencil line across the middle of the paper to mark the horizon.
- Wet the sky area and lay a cerulean wash, darker at the top, lighter near the horizon.
- While that dries, mix a slightly darker version of the same blue.
- Wet the bottom half (the water) and sweep horizontal strokes of the darker blue across it.
- Drop in a single abstract tree shape on the horizon in burnt sienna or sap green.
- Immediately drop the reflected color directly below it in the water area, pulling it downward in a loose vertical stroke.
- Let everything dry flat.
The result will be rough, but you will see the core idea clearly. The sky and the water share the same color family; the tree reflection sits directly beneath the tree.
This same approach applies to a watercolor sunset, where warm colors in the sky get echoed below in the water.
Saving the Whites
In watercolor, you cannot paint white back in. The brightest lights in a water scene come from unpainted paper. Before you start, look at your reference or your mental image of the scene and decide where the lightest spots will be.
Common areas to protect:
- The horizon line where sky meets water
- Small glints of direct sunlight on the surface
- Foam or white water in a stream
- The leading edge of small waves
Use masking fluid to protect these areas before laying your wash, or plan your brushwork carefully to paint around them. Attempting to lift color after the fact rarely produces a clean white.
Frequently Asked Questions
How do I stop my water from looking muddy?
Muddy water usually comes from overworking a wet wash. Once a stroke is down, leave it. Scrubbing wet paint into itself mixes complementary colors together and turns everything grey-brown. Let each pass dry before adding more.
Should the water be exactly the same color as the sky?
Close, but not identical. Water tends to read slightly darker and cooler than the sky it reflects. A small amount of extra pigment, or a tiny touch of the complement to knock back the brightness, helps the water look like water rather than a copy-paste of the sky.
How do I paint a watercolor lake reflection when there are trees along the shore?
Paint the trees first and let them dry completely. Then wet the water area and drop in the reflection colors while the water area is still wet. The soft edges that result look natural in still water. If the water has some movement, you can add short horizontal strokes over the dried reflection to break it up.
My reflections look too sharp. How do I soften them?
Try wetting the water area very lightly with a clean damp brush just before laying the reflection colors. A slightly misted surface will soften the edges without making the whole area soaking wet and unpredictable.
Can I paint water over a dried background wash?
Yes. If you have already painted a background, you can glaze a semi-transparent layer of color over it for the water area, then add reflections on top while that glaze is still damp. The underlying color will show through, giving you a slightly more complex surface. For loose, impressionistic watercolor work in general, loose watercolor flowers is a good companion practice, many of the same "put it down and leave it" habits apply.