Subjects & Projects
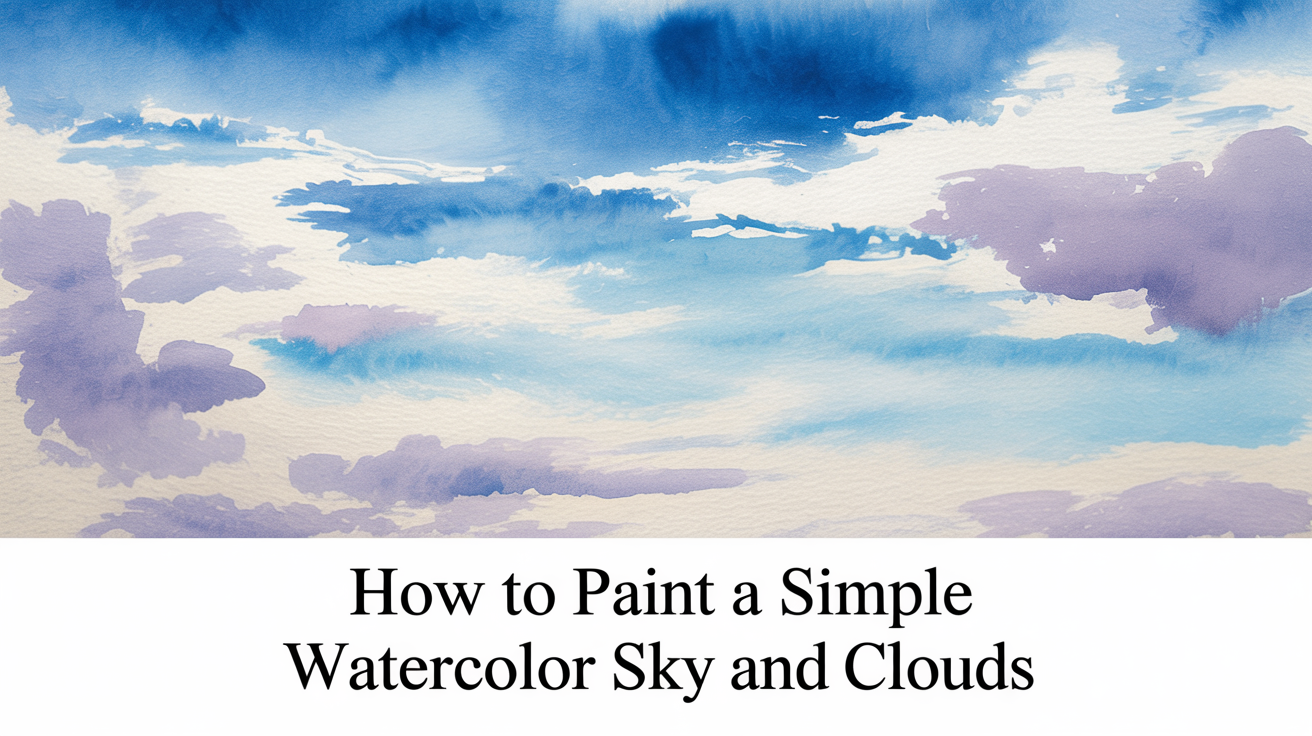
How to Paint a Simple Watercolor Sky and Clouds
Learn how to paint a watercolor sky with soft clouds using wet-on-wet washes. A beginner step-by-step tutorial with real pigment names and tips.
A sky is one of the best first watercolor subjects because it rewards the loose, watery approach that beginners are already learning. You do not need to control every drop; in fact, the less you fuss, the better the sky looks. This guide walks you through a simple blue sky with soft cumulus clouds, step by step, from the first wet brush to the final dry painting.
What you need before you start
You do not need much for this project. Keep the supply list short so you can focus on painting, not shopping.
Paper. Use 140 lb (300 gsm) cold-press watercolor paper, at least 9 x 12 inches. Anything lighter will buckle badly when wet and fight you the whole time. Cold-press gives you a slightly textured surface that holds washes well.
Brushes. Grab a 1-inch flat brush for the big sky wash and a size 8 or 10 round for shaping clouds and adding shadows. That is honestly all you need for this project.
Paints. For a classic blue sky you want two pigments:
- Cerulean blue (granulating, slightly muted, great for daytime skies)
- Ultramarine blue (transparent, deeper, useful for upper-sky depth and cloud shadows)
Optional additions: a touch of phthalo blue if you want intensity, or a thin mix of raw sienna and ultramarine for gray clouds. Keep your palette simple.
Two water jars. One for rinsing, one for clean mixing water. Switch to the clean jar when you need fresh color.
A spray bottle. A fine mist bottle keeps your palette paints workable during the session.
Understanding wet-on-wet (and why skies need it)
Wet-on-wet means you wet the paper first, then drop paint into that wet surface. The paint blooms and blends without hard edges, which is exactly the soft, atmospheric look a sky needs.
The alternative, wet-on-dry, gives crisp edges. That is useful for certain subjects, but for clouds and open sky it tends to look stiff and overworked. You will use wet-on-wet for most of this project, with a few small wet-on-dry accents at the end for shadow detail.
One thing to know upfront: watercolor dries roughly 20 to 30 percent lighter than it looks wet. This catches beginners off guard every time. Mix your blues a shade darker than you think you need. You can always glaze a second layer once the first is dry, but you cannot easily pull color back.
Painting the sky, step by step
Work through these steps one at a time. Do not rush; let each stage do its job before moving on.
Step 1: Tape and tilt your paper
Tape your paper to a board with painter's tape along all four edges. This stops it curling as it gets wet and gives you clean borders. Tilt the board at a gentle angle, around 10 to 15 degrees, with the top of your sky raised. Gravity will help the wash flow downward naturally.
Step 2: Wet the entire sky area
Load your 1-inch flat with clean water and brush it across the whole paper, or just the sky area if you plan to paint trees or ground below. You want the surface to look shiny but not pooled. If you see big puddles, blot them with a tissue corner. The paper should be uniformly damp.
Work quickly. The wet window closes as the paper begins to dry, and you want your blue washes to go in while the surface is still shiny.
Step 3: Drop in your blue wash
Mix cerulean blue with water to a "tea" consistency: colored but still quite fluid, not thick. Starting at the top of your paper, lay in horizontal strokes with the flat brush. Leave irregular white gaps where your clouds will sit. These gaps do not need to be perfect shapes. Oval blobs, roughly horizontal, are fine.
Tilt the board slightly and let the color flow downward. Add a touch of ultramarine at the very top corners to deepen the sky overhead. As you move toward the horizon, thin the mix further with water so the blue gets lighter and paler near the bottom of the sky. Real skies are deeper blue at the top and paler near the horizon, always.
Step 4: Soften the cloud edges immediately
While the paper is still wet, use the damp flat brush (no paint, just water) to gently feather the edges of your cloud gaps. Stroke from the blue area toward the white, pulling a tiny amount of color along to create a soft gradation. Do not scrub. One or two strokes per edge, then leave it alone.
If blue bleeds into your whites more than you wanted, gently blot the white cloud areas with a clean dry tissue. This lifts excess color and brightens the white.
At this stage the painting will look messy and uncertain. That is fine. Let it dry completely before touching it again, at least 20 to 30 minutes in normal conditions. Use a hair dryer on low heat if you are impatient, keeping it moving so you do not create hot spots.
Step 5: Paint cloud shadows
Once the sky wash is dry, look at your clouds. Plain white clouds look flat without some shadow. Real cumulus clouds are lit from above, so the shadow sits on the underside and slightly to one side.
Mix a cool gray from ultramarine and a tiny pinch of burnt sienna (it neutralizes the blue without going green). Thin it to a "milk" consistency, just slightly translucent. With your size 8 round, paint soft curved strokes under the main cloud masses. Keep the edges soft by immediately blending the lower edge with a clean damp brush. Aim for 2 to 3 values of gray across different clouds so they read as separate shapes at different distances.
Do not cover the entire underside of every cloud. Leave some pure white. The contrast between bright white and soft gray is what makes clouds look three-dimensional.
Step 6: Final small details
At this point the main work is done. A few optional additions:
- A second thin layer of cerulean in small patches between clouds can add sky depth without muddying things.
- A very dilute wash of raw sienna along the horizon, wet-on-dry over the dried blue, adds warmth to suggest haze or late afternoon light.
- If any cloud edge looks too hard and sharp, dampen the area gently with clean water and blot, then re-wet the edge with a clean brush. This softens edges without lifting color aggressively.
Step back and look. Resist the urge to add more. Overworking is the most common beginner mistake in watercolor skies. The painting looks better from two feet away than from two inches.
Common mistakes and how to fix them
| Problem | Likely cause | What to do |
|---|---|---|
| Hard jagged cloud edges | Paper dried before softening edges | Wet the edge with clean water, blot gently to re-soften |
| Sky looks muddy | Too many colors mixed together | Stick to 1-2 blues; let each layer dry before adding another |
| Clouds look flat | No shadow values | Add a second gray layer underneath clouds once first wash is dry |
| Color too pale when dry | Mixes were too thin | Mix slightly darker next time; glaze a second wash once dry |
| Paper is buckled | Paper too light, or not taped | Use 140 lb minimum; tape all four edges to a rigid board |
Even experienced painters hit these problems. The trick is knowing what caused it so you can adjust the next attempt.
Practicing sky variations
Once you have done one sky, try small practice skies on scraps of 4 x 6 inch paper. These low-stakes experiments teach you more than one large careful painting.
A few things worth trying:
- A pale overcast sky using a very dilute gray wash with no blue at all
- A stormy sky with darker values of payne's grey mixed with ultramarine, leaving just a slim bright strip near the horizon
- A sunset sky using quinacridone rose and a touch of raw sienna near the horizon, blending up to ultramarine at the top (more on color blending in the watercolor sunset guide)
Each variation teaches you something slightly different about wet-on-wet timing, value relationships, and how colors behave when wet.
If you want to pair a sky like this with a foreground, loose painted leaves or foliage can work well against a sky background. The greenery guide covers a simple approach that does not require tight botanical detail.
Frequently asked questions
How do I keep my clouds white if I do not have masking fluid?
Work around them carefully with your brush, leaving the white paper untouched. This is easier with a flat brush that you can tilt on its edge to cut around shapes. If you accidentally paint over a white area while the paper is still wet, blot it immediately with a dry tissue. Once the sky is dry, a tiny amount of white gouache can restore small highlights, though purists prefer to preserve whites from the start.
My sky wash dried with tide marks and blobs. What went wrong?
This happens when wet paint runs back into a partially dried area, creating a hard bloom called a "backrun" or "cauliflower." It usually means the paper dried unevenly, or you added too much wet paint to an area that had already started drying. Prevention is easier than cure: work quickly, use consistent wetness across the paper, and resist going back into an area that has started to dry. Some painters actually like backruns as texture in stormy clouds.
Can I use student-grade paints for this?
Yes, especially for practice. Student paints are less pigment-dense, which means you will need slightly more paint to get similar saturation. The main limitation is lightfastness over time, which matters less for practice pieces. For a first serious sky painting, artist-grade cerulean and ultramarine are worth the upgrade because they mix cleanly and granulate beautifully.
How wet does the paper need to be for wet-on-wet?
The paper should look shiny when you hold it at an angle to the light. Not pooled with standing water, but uniformly damp and glistening. If it looks matte in places, those areas have dried and paint will leave hard edges there. A quick pass with a damp flat brush refreshes dry spots before you add color.
Do I need to stretch my paper?
For a quick study you can skip stretching and just tape the paper to a board. For anything larger than 12 x 16 inches or any painting you plan to keep, stretching (soaking the paper and stapling it to a wooden board) prevents heavy buckling. At 140 lb weight with all four edges taped, most beginners manage fine without the extra stretching step.