Subjects & Projects
A Beginner's First Watercolor Landscape, Step by Step
Paint your first watercolor landscape with this beginner-friendly step-by-step guide covering sky, land, and simple details.
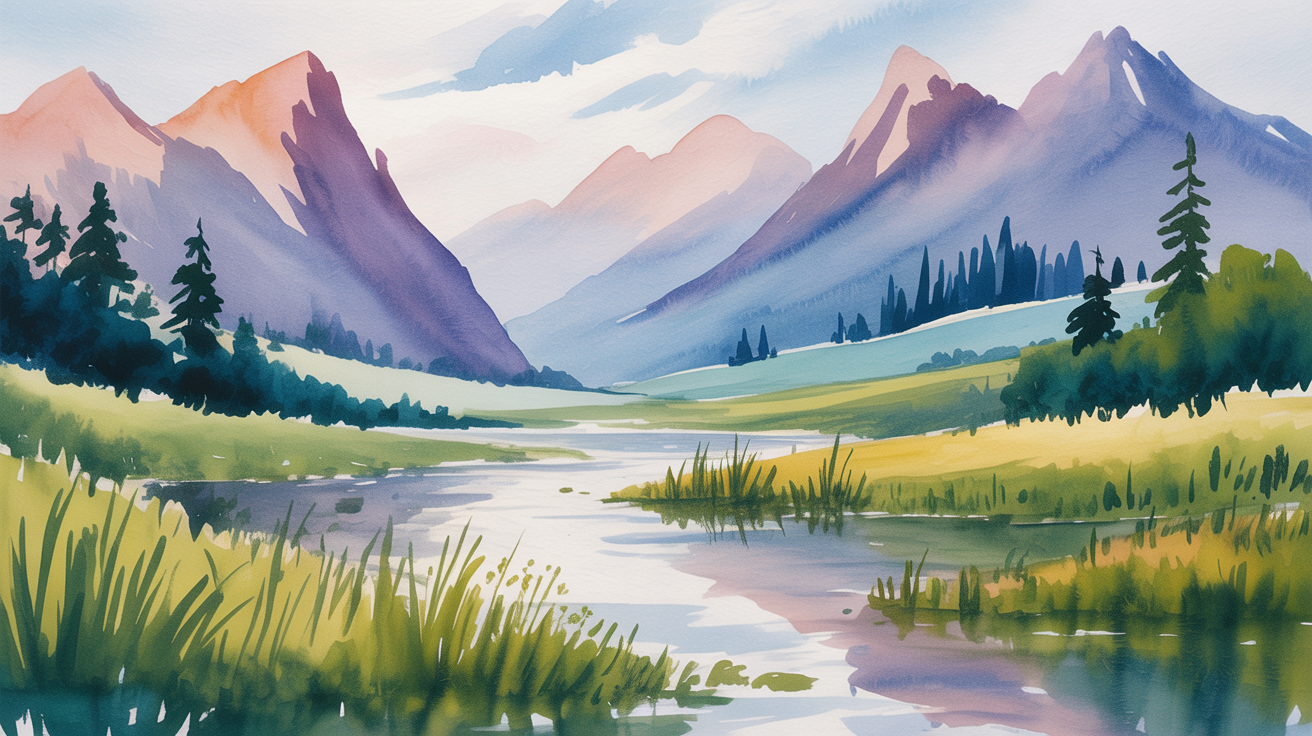
A flat horizon line, a wash of sky, a band of land. That is all a landscape really needs, and it is one of the best first projects for a watercolor beginner. The shapes are large, the composition is forgiving, and you can put a satisfying painting on paper in under an hour. This guide walks you through the whole thing, start to finish, with no complicated techniques required.
What You Need Before You Begin
You do not need a landscape painting kit or a specific set of paints. A handful of basic colors and a sheet of decent paper are enough.
Paper: 140 lb (300 gsm) cold-press paper holds water without buckling badly. If your paper tends to warp, tape all four edges to a board with artist's tape before you start.
Brushes: One large flat or mop brush (1 inch or so) for the sky wash, one medium round (size 8 or 10) for mid-ground shapes, and one small round (size 4 or smaller) for details.
Paints: You can paint a convincing landscape with as few as four colors:
- A blue for the sky (ultramarine or cerulean work well)
- A yellow (raw sienna or yellow ochre for natural warmth)
- A green or a mix you can build from blue and yellow
- A dark brown or neutral for shadows and tree trunks (burnt sienna or burnt umber)
Water and palette: Two jars of water, one for rinsing, one for clean mixes. A white plate or ceramic palette with separate wells.
Planning a Simple Composition
Before you touch paint, draw a faint pencil line across your paper. That single mark is the horizon. It divides your sky from your land.
For a first landscape, put the horizon about one-third of the way up the paper. This gives you more sky, which reads as open and airy. If you want the land to feel more prominent, shift the horizon up to two-thirds. Avoid splitting the paper exactly in half because that tends to feel static.
Decide on one simple focal point. A tree on one side, a small farmhouse, a path curving away, or even just a darker treeline on the horizon. You do not need much detail. A shape that sits slightly off-center is all you are looking for.
Once your horizon is drawn and you have a rough idea of the focal point, you are ready to paint.
Painting the Sky
Wet the entire sky area with clean water first. The paper should look shiny but not pooling. Then load your large brush with a diluted blue and sweep horizontal strokes from the top down toward the horizon. While the paper is still wet, the color will soften on its own and avoid hard streaks.
A few things that help here:
- Work quickly. Wet paper dries fast.
- Leave some white paper unpainted near the horizon for light. A pale sky at the horizon against a deeper blue above creates natural depth.
- If you want clouds, lift color with a damp clean brush or a crumpled piece of paper towel while the wash is still wet. The result is a soft, irregular light shape. Hard edges come from pressing into paint that has already started to dry, so work while things are still shiny.
For more guidance on painting a convincing sky, the post on how to paint a simple watercolor sky and clouds goes deeper into wet-in-wet cloud shapes and gradients.
Let the sky dry completely before you move to the land. Rushing this step is the most common reason beginners end up with colors bleeding where they did not intend.
Painting the Land
Once the sky is dry, you can work on the ground without worrying about colors bleeding upward.
Start with the mid-tones. Mix a yellow-green (raw sienna plus a little blue, or a tube green lightened with yellow) and paint the land area in broad strokes. You do not need to fill it in perfectly. Variation in color and water amount creates a natural-looking field. Dry patches, wet areas, slightly darker corners all read as texture once they dry.
While that first layer is still damp, drop in a slightly darker green along the horizon line. Colors placed into wet paper spread softly and give the illusion of distant trees without you having to paint individual leaves. This technique is called wet-in-wet and it does most of the work for you.
For the foreground, mix a warmer, slightly darker tone. Raw sienna with a touch of burnt umber reads as dry grass or earth. A few horizontal strokes in the lower portion of the land help push the eye toward the horizon, which is where most landscapes lead the viewer.
Adding Trees and a Simple Focal Point
Trees in a landscape are often simpler than people expect. At the horizon, they are just dark silhouette shapes. A size 8 round brush loaded with a dark mix (ultramarine and burnt sienna make a near-black) lets you tap and drag small irregular forms along the treeline. Vary the height of the shapes so the line does not look like a fence.
For a single tree as a focal point, paint the trunk first with a thin line of dark brown. Let it dry. Then stipple or tap the foliage above it with a damp brush that has been blotted to a point. Green at the top, a slightly warmer or darker green at the bottom of the canopy, and a few gaps in the foliage to let sky through.
A path or a road can be suggested with two converging lines that narrow as they approach the horizon, lighter at the far end and darker at the near end. You do not need to paint the road fully, just hint at it with a few strokes.
Final Details and What to Leave Out
This step trips up many beginners: the impulse to add more. A good rule at this stage is to stop and look at the painting from across the room before adding anything else.
Details that typically help:
- A shadow on the ground beneath a tree, painted as a loose dark shape angled away from where your light source would be
- A small dark shape or two in the mid-ground to anchor the scene
Details that usually hurt:
- Outlining shapes in dark color
- Painting individual blades of grass in the foreground
- Adding human figures unless you have practiced them separately
If you enjoyed the atmospheric quality of this landscape and want to try a scene with warmer colors, the guide on how to paint a watercolor sunset for beginners covers a similar step sequence with orange and pink tones.
A Quick Reference: What to Do at Each Stage
| Stage | What you're doing | Key tip |
|---|---|---|
| Prep | Tape paper, draw horizon, plan focal point | Keep composition simple |
| Sky wash | Wet paper, lay blue wash, lift for clouds | Let it dry fully before moving on |
| Land base | Broad mid-tone strokes, drop in darks while wet | Vary your color temperature |
| Treeline | Tap dark shapes along the horizon | Irregular heights look natural |
| Focal point | Tree trunk, path, or building shape | Off-center reads better |
| Final details | Shadows, anchoring darks, nothing more | When in doubt, stop |
Frequently Asked Questions
My colors dried much lighter than they looked when wet. Did I do something wrong?
No. Watercolor always dries lighter. This is one of the most disorienting things about the medium at first. As experience builds, you learn to mix slightly darker than you want the final result. A simple test: mix your color on the palette, let a small stroke dry on scrap paper, and compare. That tells you exactly how much darker to mix next time.
The sky and land colors ran together even though I waited. Why?
The land area was probably still slightly damp when you started painting into it, even if it looked dry. The surface can feel dry to a quick touch but still have moisture underneath. Wait a full extra minute past when it looks dry, or use a hairdryer on low heat to be certain.
Can I use this same approach for a loose watercolor flowers type of project?
The basic logic is the same: large shapes first, details last, and wet-in-wet for soft edges. The flower project at loose watercolor flowers: an easy first project applies the same sequencing to organic shapes rather than a horizon-based composition.
My paper buckled badly. How do I prevent that?
140 lb paper buckles less than 90 lb paper. Taping all four edges to a flat board before you start helps considerably. Some painters soak their paper in a bathtub for a few minutes and then staple it to a wooden board before painting, which almost eliminates buckling entirely.
Do I need to do an underpainting first?
For a simple landscape like this one, no. Underpaintings are useful for complex subjects or specific value planning. For a straightforward sky-and-land scene, painting directly is fine and keeps the process approachable.