Getting Started
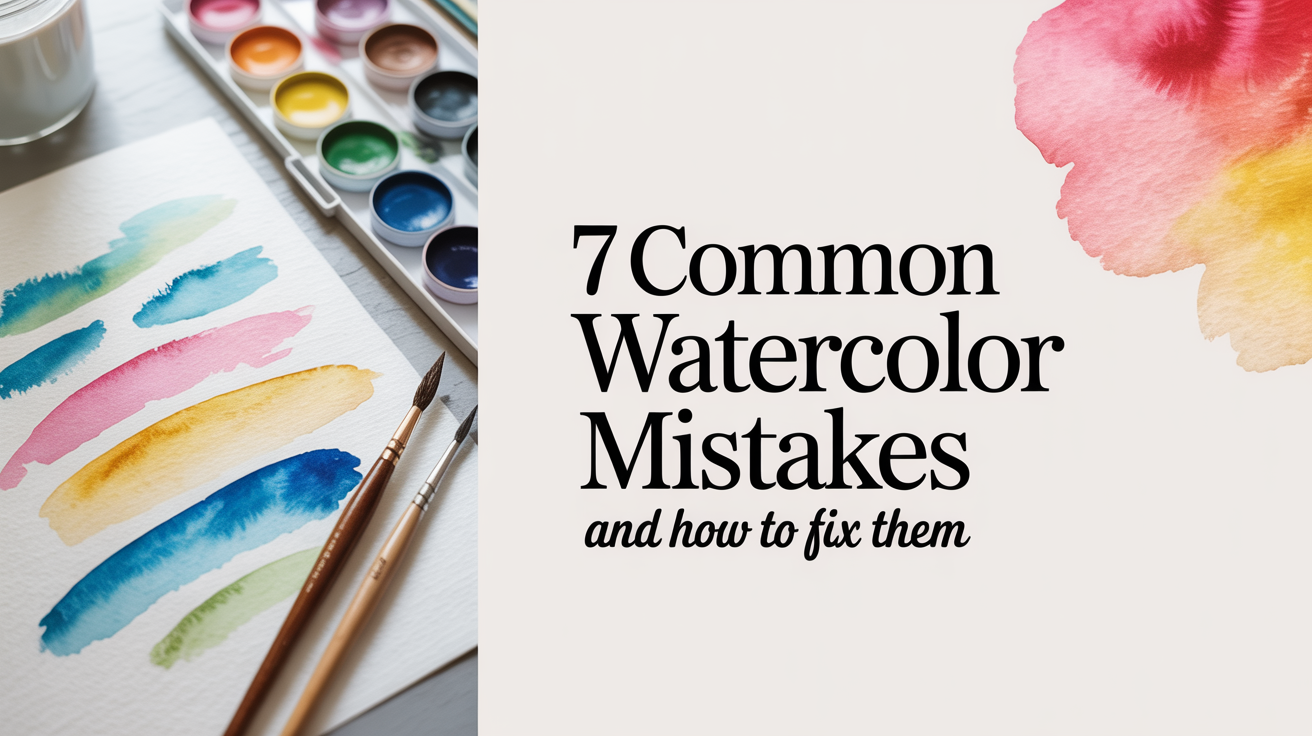
7 Common Beginner Watercolor Mistakes and How to Fix Them
Struggling with muddy colors, streaky washes, or paint that dries wrong? Here are 7 beginner watercolor mistakes and exactly how to fix each one.
Most watercolor problems beginners run into aren't signs of bad talent. They're signs of a medium that behaves in ways no other paint does. Water evaporates. Pigment granulates. Paper buckles. Once you understand what's actually happening, the fixes are straightforward.
This guide walks through seven of the most common watercolor mistakes, what causes each one, and what to do differently next time.
Mistake 1: Using Too Little Water
Dry or stiff paint is one of the most widespread watercolor problems beginners face. The brush feels scratchy on the paper, colors look dull, and blending is nearly impossible.
What's happening: Watercolor is transparent by nature. It needs water to flow, spread, and let the white of the paper shine through. When the paint is too dry, it sits on the surface instead of sinking into the tooth of the paper, and every stroke shows.
The fix: Load your brush with more water than feels comfortable at first. Dip the brush, then pick up paint from a wet well on your palette rather than scraping dry pigment straight from a pan. The paint on your brush should look almost too juicy. On a tilted board, a bead of liquid should form at the bottom edge of each stroke.
For a deeper look at water ratios, How Much Water to Use in Watercolor: The Beginner's Biggest Question breaks it down step by step.
Mistake 2: Overworking Wet Paint
You lay down a stroke, it looks a little uneven, so you go back in to fix it. The result is worse than what you started with, maybe streaky, maybe muddy, maybe torn paper.
What's happening: Watercolor has a short window for manipulation. Once the paint hits the surface and starts to absorb, brushing back into it disrupts the pigment before it has settled. You're pushing dry and wet paint together in a way that creates blotches and texture you didn't intend.
The fix: Make your stroke and leave it. If you want to correct something, wait until the area is completely dry, then glaze over it with a second layer. You can also work in larger puddles so the paint stays wet longer, giving you more time to adjust before that critical window closes.
Mistake 3: Not Letting Layers Dry Before Adding More Paint
Related to the above, this one creates a specific problem: colors bleed into each other in ways you didn't want. A sky bleeds into a rooftop. A shadow creeps into a highlight.
What's happening: Watercolor layers need to be bone dry before the next goes on. If any moisture remains, the new paint will pull toward the damp area and feather in unpredictable ways.
The fix: Touch the paper lightly with the back of your hand, not a fingertip. If it feels even slightly cool, it's still damp. Wait. A hair dryer on a low heat setting speeds this up safely. Patience here is the actual skill.
Mistake 4: Painting on Thin or Cheap Paper
This one causes multiple problems at once: buckling that creates puddles, a surface that pills or tears when rewet, and colors that look flat and washed out once dry.
What's happening: Standard printer paper or sketch-pad paper wasn't designed to absorb water. It soaks through quickly, warps under even light washes, and often has a coating that repels rather than absorbs watercolor pigment.
The fix: Switch to paper specifically made for watercolor, at least 90 lb (190 gsm), though 140 lb (300 gsm) is the standard most beginners eventually settle on. Cold-press texture is the most forgiving for beginners: it has enough tooth to hold pigment but not so much that it fights fine detail work.
The 5 Things You Actually Need for Your First Watercolor Painting covers paper along with the other materials actually worth spending money on when you're starting out.
Mistake 5: Mixing Too Many Colors Together and Getting Mud
You want a rich shadow color, so you mix several paints together. The result is a flat, brownish grey that looks nothing like any of them.
What's happening: When you combine more than two or three pigments, especially ones that contain opposite hues, they neutralize each other. Add in a dirty brush or a contaminated water cup and the problem compounds quickly.
The fix: Work with two colors at a time, three at most. Clean your brush between colors by swishing in a water cup and wiping on a cloth. Keep a second water cup for rinsing and a third for clean mixing water. A quick reference:
| Colors Mixed | Result if Clean | Common Muddy Culprit |
|---|---|---|
| Yellow + Blue | Green | Dirty brush or contaminated yellow |
| Red + Blue | Violet | Too many pigments in one of the colors |
| Blue + Orange | Neutral brown/grey | Overworking while wet |
| Complementary pair + a third color | Mud | Mixing more than three pigments |
When in doubt, use fewer colors. A limited palette of three pigments mixes cleaner than a full set used indiscriminately.
Mistake 6: Colors Drying Much Lighter Than Expected
You paint a deep, saturated wash. It looks perfect while wet. Once dry, it's a pale shadow of what you intended.
What's happening: Watercolor always dries lighter than it looks when wet. This is a fundamental property of the medium, not a defect in your paint or paper. As water evaporates, the pigment disperses and the white paper shows through more.
The fix: Mix your colors slightly darker and more saturated than the finished result you want. Over time, you'll calibrate for this naturally. You can also test a small swatch on a scrap of the same paper and let it dry fully before committing to a large area. If a finished painting still looks too pale, a second glaze over completely dry paint will deepen the tone without muddying the color.
Mistake 7: Outlining Everything First in Pencil and Relying on It
Pencil underdrawings can be a useful guide, but beginners often use them as a crutch, drawing every detail and then just filling in the lines. The result is flat and stiff: a coloring book rather than a painting.
What's happening: Watercolor is most expressive when it's allowed to suggest rather than define. Tight pencil outlines constrain the paint and make every edge hard, which doesn't match how light actually falls on objects.
The fix: Keep pencil marks light and minimal. Sketch only the main shapes you need to place things correctly, then let the paint define the edges. Practice painting negative shapes: instead of outlining a flower petal, paint the shadow around it and let the white paper become the petal. This shift takes practice, but it's the move that makes watercolor paintings look like watercolor paintings.
If you're newer to the medium overall, Watercolor for Absolute Beginners: How to Start in One Afternoon walks through a simple first session that avoids most of these traps from the start.
Quick Reference: Watercolor Mistakes at a Glance
| Mistake | Root Cause | Quick Fix |
|---|---|---|
| Scratchy, stiff strokes | Too little water | Load more water before picking up paint |
| Blotchy corrections | Overworking wet paint | Let it dry fully before touching again |
| Unwanted bleeds | Glazing on damp paint | Wait for bone-dry; use back of hand to check |
| Buckling, pilling paper | Wrong paper type | Use 140 lb cold-press watercolor paper |
| Muddy color mixes | Too many pigments, dirty brush | Mix two colors max; use clean water |
| Colors look pale when dry | Watercolor dries lighter | Mix darker than target; glaze if needed |
| Stiff, coloring-book look | Heavy pencil reliance | Sketch lightly; let paint define edges |
Frequently Asked Questions
Why does my watercolor always look muddy? Usually it's a combination of mixing too many pigments at once and a dirty brush or water cup. Start each session with fresh water. Mix colors using only two pigments until you build an intuition for which combinations stay clean.
How do I fix a mistake in watercolor once it's dry? Lift the paint while it's still damp with a clean damp brush or a paper towel. Once fully dry, you can lighten an area by rewetting with a clean brush and blotting, though some pigments stain more permanently than others. A white gouache or opaque white can cover small errors in finished work.
My paper keeps buckling and paint pools in the creases. What do I do? Tape your paper to a firm board before painting. Wet the back of the paper first, then tape all four edges down with artist's tape or gummed tape. The paper stretches as it dries taped flat, and stays flat when you paint on it.
Is it okay to go back and fix a watercolor painting? Absolutely. Let each area dry completely, then glaze, lift, or add detail as needed. Many finished watercolors go through several dry-and-rework cycles. The rule is just that you're not going back in while anything is still wet.
Why do my colors look different on paper than on my palette? Two reasons: the white of your palette reflects differently than the white of your paper, and wet paint always looks more saturated than dry paint. Test swatches on a scrap of the same paper to see the actual dried result before committing to a large wash.